How to Handle a Phone with a Cracked Screen: Diagnosis and Repair Tips
7/8/2026· 3 min read
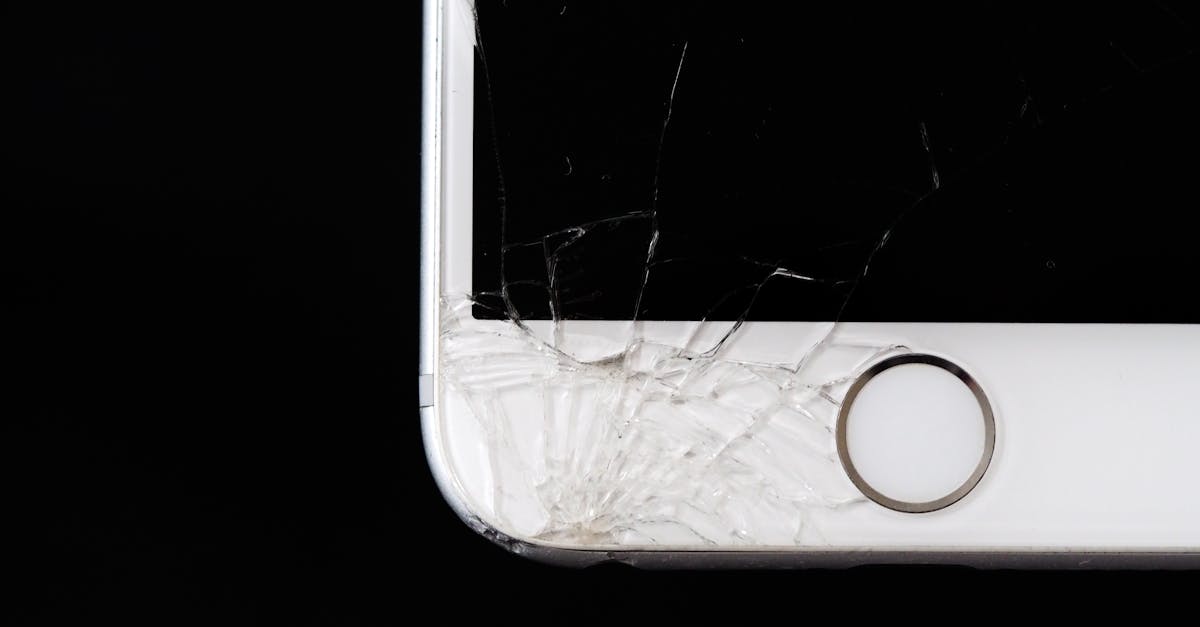
A cracked screen is one of the most common issues repair shops see. This guide covers how to assess the damage, determine if the LCD is affected, and decide on the best repair approach.
Process overview
Assess the Damage
Start by examining the screen closely. Use a bright light to check for cracks that extend into the display area. If only the glass is cracked and the touch and display are fully functional, you can often replace just the glass. If the LCD is damaged (black spots, lines, or discoloration), you'll need a full screen assembly replacement.
Check Touch and Display Functionality
Test the touch response across the entire screen. Use a diagnostic app or built-in test mode to check for dead zones. Also, look for any display abnormalities like flickering, color shifts, or bleeding. Document these findings in your repair ticket to ensure accurate quotes.
Decide on Repair Method
- Glass-only replacement: Suitable for phones where the LCD is intact and the glass is separated. This requires a specialized machine and skill. It's cheaper but riskier.
- Full assembly replacement: Easier and more reliable. Replace the entire screen module. This is recommended for most shops unless you have glass-only experience.
Gather the Right Tools and Parts
You'll need:
- Suction cup
- Plastic opening tools
- Screwdrivers (Pentalobe, Phillips, Tri-point)
- Heat gun or iOpener
- Adhesive strips or B-7000 glue
- Replacement screen assembly (compatible with the model)
Always source high-quality parts from reputable vendors to avoid returns.
Step-by-Step Replacement
- Power off the device and remove the SIM tray.
- Apply heat to the edges to soften adhesive.
- Use a suction cup and opening pick to separate the screen.
- Carefully disconnect the battery and screen flex cables.
- Remove the old screen and transfer any necessary components (e.g., home button, earpiece mesh).
- Install the new screen, reconnect cables, and test before sealing.
- Apply adhesive and press the screen into place.
- Perform a final test of touch, display, and sensors.
Testing After Repair
Run a full diagnostic test to ensure everything works: touch sensitivity, multi-touch, display colors, brightness, proximity sensor, and ambient light sensor. Use your shop's diagnostic tools or built-in test modes.
Pricing Considerations
Price based on part cost, labor time, and market rates. Typically, glass-only repairs are 30-50% cheaper than full assembly. Offer a warranty (e.g., 90 days) to build trust.
Common Mistakes to Avoid
- Not checking for LCD damage before quoting.
- Using low-quality adhesive, leading to screen lifting.
- Forgetting to transfer small parts like the home button flex.
- Not testing thoroughly before giving the phone back.
By following this systematic approach, you can handle cracked screens efficiently and keep customers satisfied.
Photo: energepic.com / Pexels
Get repair-shop growth tips in your inbox
Practical guides on pricing, workflow and getting paid. No spam — unsubscribe anytime.