How to Handle a Phone with a Broken Screen Digitizer (Touch Not Responding): Step-by-Step Diagnosis and Repair Workflow for Shops
11/4/2026· 4 min read
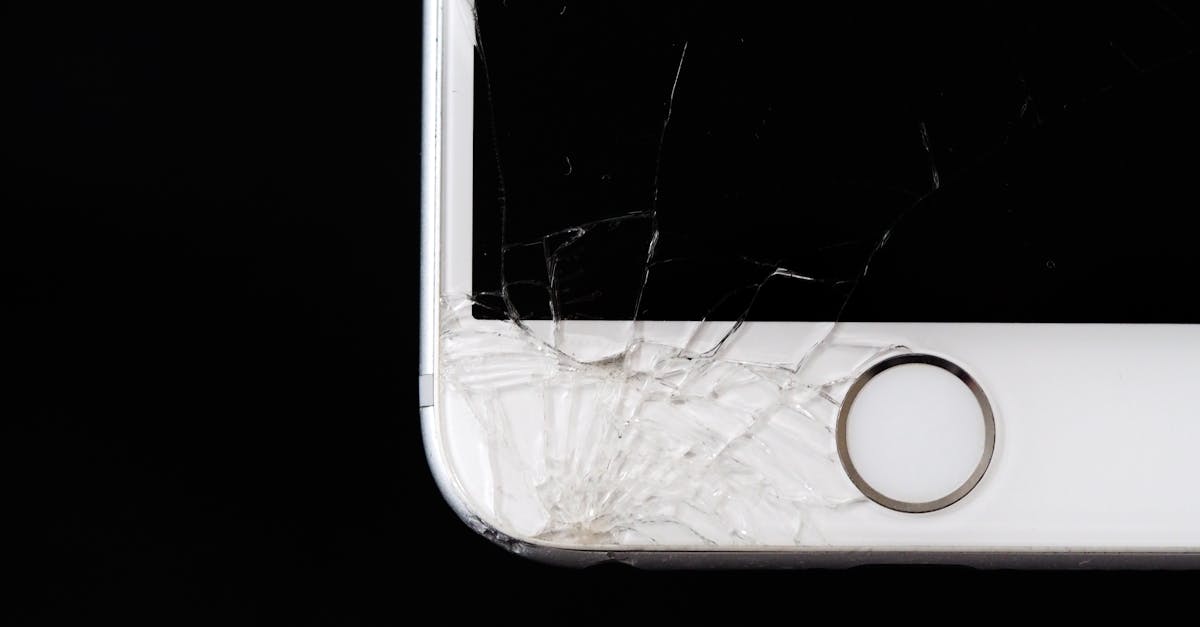
A phone that lights up but won't respond to touch is one of the most common walk-ins at a repair shop — and one of the easiest to misdiagnose. This guide walks through a repeatable digitizer diagnosis and repair workflow so your techs quote accurately, avoid unnecessary full-screen swaps, and turn the job around fast.
Process overview
Why "touch not working" is rarely a simple answer
Customers usually describe this as "my screen is broken," but the display (the part that shows an image) and the digitizer (the touch layer) are separate components that fail independently. A phone can have a perfectly good picture with dead touch, or working touch with a cracked or dim display. Treating every touch complaint as a full screen replacement leads to overquoting, comebacks, and wasted parts.
Your job at intake is to separate three possibilities:
- Digitizer failure — the touch layer or its flex cable is damaged.
- Display assembly failure — the panel or its connector is bad, sometimes taking touch with it.
- Software or board-level issue — a frozen OS, a bad touch IC, or a damaged connector on the logic board.
Step 1: Intake and customer interview
Before the phone goes on the bench, capture the details that narrow the diagnosis:
- When did touch stop working — after a drop, a repair, water exposure, or with no event at all?
- Is touch dead everywhere, or only in one area or along an edge?
- Does the phone respond to a hard reset or restart?
- Has the screen been replaced before, and by whom?
Log the answers on the ticket. If the device was repaired elsewhere recently, note it — aftermarket parts and reused adhesive are frequent culprits.
Step 2: Confirm the symptom and rule out software
Force-restart the device first. A frozen touch layer from a stuck app or a failed update looks identical to hardware failure. If the phone responds after a restart, you have a software story, not a parts sale.
Next, test touch in a known-good environment: unlock with a passcode if possible, open a drawing or notes app, and drag a finger across the entire surface. Map dead zones on a grid so you can show the customer exactly what you found.
Step 3: Inspect the glass and the assembly
Look closely at the glass for hairline cracks, especially near the corners and along the frame. Check for signs of prior repair — lifted edges, adhesive residue, mismatched glass. Then check whether the display itself is healthy: full brightness, no lines, no discoloration. A healthy display with dead touch points straight at the digitizer or its flex.
Step 4: Open, inspect connectors, and test
With the device powered down, open it following the manufacturer's disassembly order and inspect the display and digitizer flex cables. Look for:
- Torn, creased, or kinked flex cables.
- Corrosion or liquid residue on the connectors.
- Loose or partially seated connectors.
- Bent pins or debris in the connector socket.
Reseat the connectors and test touch before replacing anything. A surprising share of "dead digitizer" tickets are a loose connector or a pinched flex from a previous repair.
Step 5: Decide repair vs. replace and quote honestly
If the flex or connector is damaged, repair or replace that component. If the digitizer layer itself is failing, a full display assembly is usually the correct and most reliable fix. Explain the difference to the customer: a glass-only repair is cheaper but riskier on modern laminated panels, while a full assembly is more predictable.
Quote parts, labor, and turnaround before you start. If diagnostics reveal board-level damage, stop and re-quote rather than absorbing the cost silently.
Step 6: Test before pickup
After reassembly, verify:
- Touch works across the entire screen, including edges and corners.
- The display shows correct brightness, color, and no dead pixels.
- Proximity and ambient light sensors behave normally.
- The front camera and earpiece still function.
- The device charges and holds a connection.
Document the result on the ticket and have the customer test the phone at pickup.
Step 7: Close the loop
Add a short note to the customer record describing what failed and what you replaced. If the same device returns with a touch complaint, that history saves your tech a full re-diagnosis — and gives you the evidence to handle a warranty claim fairly.
Running this workflow consistently keeps screen jobs profitable, cuts comebacks, and gives customers a clear reason to trust your shop with the next repair.
Photo: energepic.com / Pexels
Get repair-shop growth tips in your inbox
Practical guides on pricing, workflow and getting paid. No spam — unsubscribe anytime.