How to Handle a Water-Damaged Phone: Step-by-Step Diagnosis and Repair Workflow for Shops
11/13/2026· 4 min read
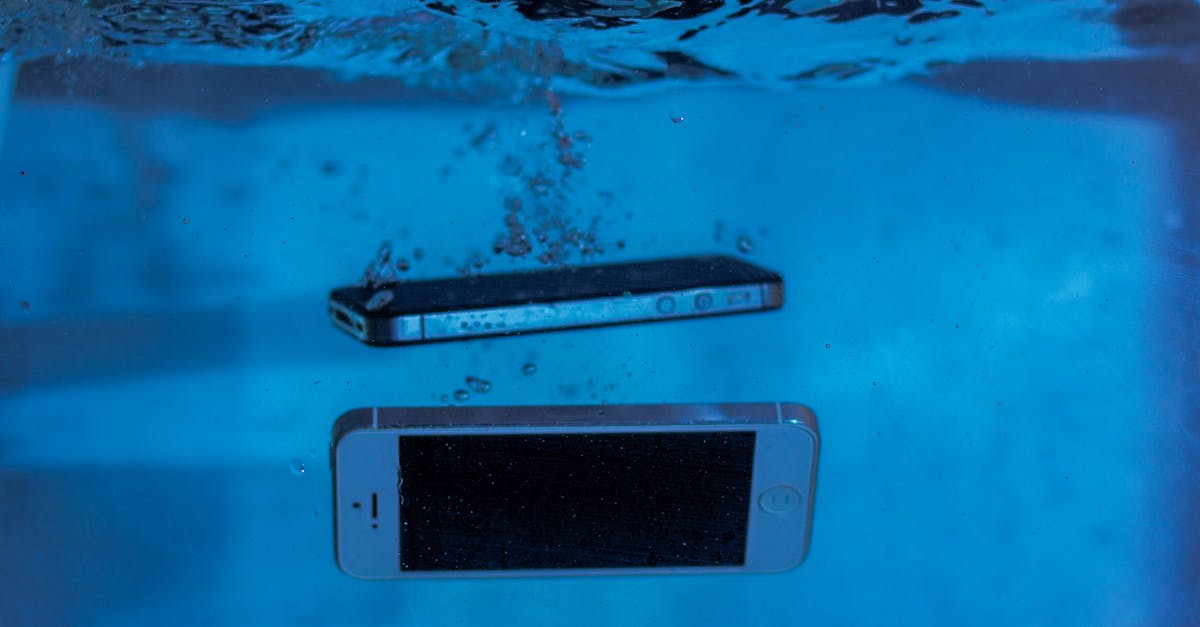
Water damage is one of the most common — and most misunderstood — repair jobs that walk into a shop. Customers often arrive convinced their phone is dead for good, or worse, they've already tried rice, a hair dryer, or a charger. A consistent intake and diagnosis workflow protects the board, sets honest expectations, and turns a risky job into a profitable one.
Process overview
Why water damage needs its own workflow
Liquid damage doesn't fail like a cracked screen. Corrosion keeps spreading after the phone dries, so a device that powers on today can die next week. That means your job is not just "make it turn on" — it's stopping the corrosion and telling the customer what you can and can't guarantee. Treat every liquid-exposure job as a board-level repair until proven otherwise.
Step 1: Intake and triage
Before anything else, document the condition and the story.
- Ask what liquid it was (fresh water, salt water, soda, coffee, pool water) and how long ago. Salt and sugar are far more corrosive than clean water.
- Note whether the customer tried to charge it, turned it on repeatedly, or used heat to dry it. These details change the odds.
- Photograph the device from every angle, including any visible corrosion, staining, or moisture indicators.
- Get a signed intake note stating the phone is not water-resistant after repair and that data may be unrecoverable.
Do not power the device on to "check." If it's wet inside, powering it up is how you turn a repairable phone into a dead board.
Step 2: Immediate stabilization
- Power the device off if it's on, and do not charge it.
- Remove the SIM tray and any case or accessory.
- If the shop has an ultrasonic cleaner and the customer approves board-level work, plan for a board pull. Otherwise, keep the device dry and cool — no heat guns, no ovens, no rice.
- Explain to the customer that rice and heat are myths that delay real treatment and can push liquid deeper.
Step 3: Teardown and inspection
Open the device following the manufacturer's service guide, then inspect methodically:
- Look for liquid contact indicators and corrosion on connectors, shields, and screw heads.
- Check the charging port, speaker grilles, and camera modules — these are common entry points.
- Remove the battery if it shows swelling, and handle it as a safety risk.
- Photograph corrosion before cleaning so you have a record for the quote and the customer.
Step 4: Board cleaning and corrosion control
Corrosion is the real enemy. Where the shop is equipped, pull the board and clean it properly:
- Remove shields as needed and clean with the appropriate solution and tools for the board type.
- Inspect under magnification for eaten traces, lifted pads, and shorted components.
- Replace obviously damaged components before reassembly.
- Let everything dry fully before powering up — moisture trapped under shields causes repeat failures.
If board-level cleaning isn't in your shop's scope, say so early and refer the job rather than guessing.
Step 5: Test, quote, and set expectations
Once the board is clean and dry, test in stages: power draw, boot, charging, then full function (touch, cameras, speakers, mics, cellular, Wi-Fi, Bluetooth, sensors). Build the quote from what actually failed — often the battery, charging port, or speaker — not from a flat "water damage fee."
Be direct with the customer:
- Water damage repairs are not guaranteed the way a screen swap is.
- Corrosion can cause failures weeks later, so offer a short, clearly stated warranty specific to liquid damage.
- If data matters more than the phone, discuss a data-recovery-first approach.
Step 6: Document and follow up
Log the intake photos, cleaning steps, parts replaced, and test results in the ticket. A follow-up message a week later catches early corrosion failures before they become a bad review. Consistent records also protect you if a customer disputes the outcome.
Common mistakes that cost shops money
- Powering on a wet phone to "see if it works."
- Skipping the intake conversation about liquid type and time elapsed.
- Promising a full warranty on a board that was corroded.
- Reassembling before the board is completely dry.
- Quoting before testing, then eating the difference when more parts fail.
A disciplined water-damage workflow turns one of the riskiest jobs in the shop into a predictable, documented process — and gives customers a straight answer instead of a guess.
Photo: Sergey Meshkov / Pexels
Get repair-shop growth tips in your inbox
Practical guides on pricing, workflow and getting paid. No spam — unsubscribe anytime.
