How to Handle a Phone with a Cracked Screen: Step-by-Step Repair Guide for Shops
8/15/2026· 4 min read
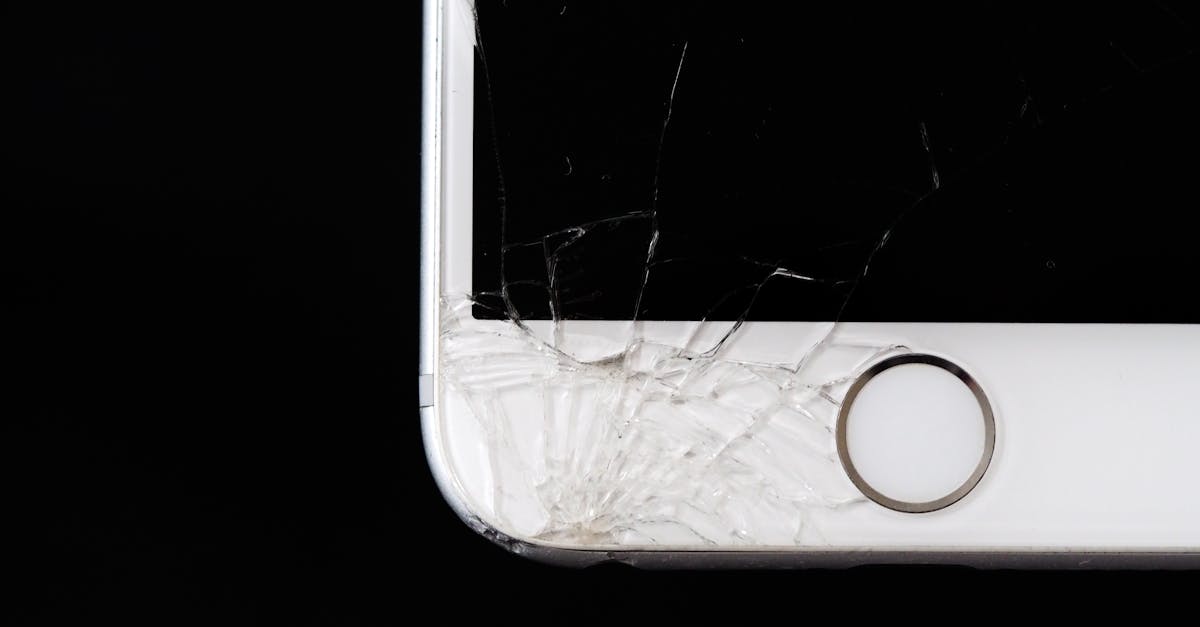
Cracked screens are one of the most common repairs a phone repair shop sees. Customers expect a fast, transparent, and reliable fix. This guide walks you through the entire process—from intake to final quality check—so you can turn a stressful situation into a loyal customer.
Process overview
Step 1: Intake and Documentation
Start by documenting the device's condition before any work begins. This protects your shop and sets clear expectations.
- Inspect the device for existing damage beyond the screen (e.g., dents, scratches, water exposure).
- Note the phone model and any previous repairs.
- Test basic functions that might be affected: touch response, display colors, and proximity sensor.
- Take photos of the device and screen damage for your records.
- Explain the repair process to the customer, including time estimates and costs.
Step 2: Diagnose the Screen Issue
Not all cracked screens are the same. A quick diagnosis helps you determine the right repair path.
- Cracked glass only: The LCD is intact, and the touchscreen works. You can often just replace the glass.
- Cracked LCD: The display shows black spots, lines, or is completely unresponsive. The full screen assembly needs replacement.
- Touch not working: Even if the glass looks fine, a faulty digitizer means the entire screen must be replaced.
- Check for underlying issues: Sometimes a drop that cracks the screen also damages internal components. Run a quick diagnostic to rule out other problems.
Step 3: Choose the Right Replacement Screen
Using the correct part is critical for a successful repair.
- OEM vs. aftermarket: OEM screens match original quality but cost more. Aftermarket screens vary in quality—test them before offering to customers.
- Compatibility: Ensure the screen is designed for the exact phone model and variant (e.g., GSM vs. CDMA).
- Check for features: Some screens support True Tone, 120Hz refresh, or in-display fingerprint sensors. Verify compatibility.
Step 4: The Replacement Process
Follow a clean, organized workflow to minimize mistakes.
- Power off the device and remove any SIM/SD cards.
- Use the right tools: suction cups, plastic openers, screwdrivers, and a heat gun or iOpener.
- Remove the screen carefully, disconnecting the battery first to avoid shorts.
- Transfer small components (e.g., earpiece speaker, home button) if needed.
- Install the new screen, reconnecting all flex cables securely.
- Test before sealing: Power on the device and check touch, display, and sensors.
Step 5: Quality Testing and Handoff
A thorough test prevents returns and builds trust.
- Run a full diagnostic to verify all functions: touch, display, brightness, and camera.
- Check for dust under the glass and clean if necessary.
- Reassemble the device completely and apply any adhesive seals.
- Clean the device and present it to the customer with a warranty note.
Step 6: Pricing and Warranty Tips
Cracked screen repairs are a high-volume service, so pricing matters.
- Price based on part cost + labor + margin. Don't underprice—customers value quality.
- Offer a warranty on parts and labor (e.g., 90 days). This reduces risk and increases confidence.
- Upsell protection: Suggest a screen protector or case to prevent future damage.
Common Mistakes to Avoid
- Skipping the diagnostic: You might miss a damaged battery or charging port.
- Using cheap parts: They often fail quickly, hurting your reputation.
- Not testing after repair: A loose connection can cause intermittent issues.
- Ignoring customer communication: Keep them updated on progress and any issues.
Conclusion
Cracked screen repairs are a staple for any repair shop. By following a structured process, you ensure consistent quality and customer satisfaction. Use a repair shop OS like RagoxCell to track tickets, manage parts inventory, and send automated updates—so you can focus on the repair, not the paperwork.
Photo: energepic.com / Pexels
Get repair-shop growth tips in your inbox
Practical guides on pricing, workflow and getting paid. No spam — unsubscribe anytime.