How to Handle a Phone That Won't Charge Wirelessly: Step-by-Step Qi Charging Diagnosis and Repair Workflow for Shops
11/1/2026· 4 min read
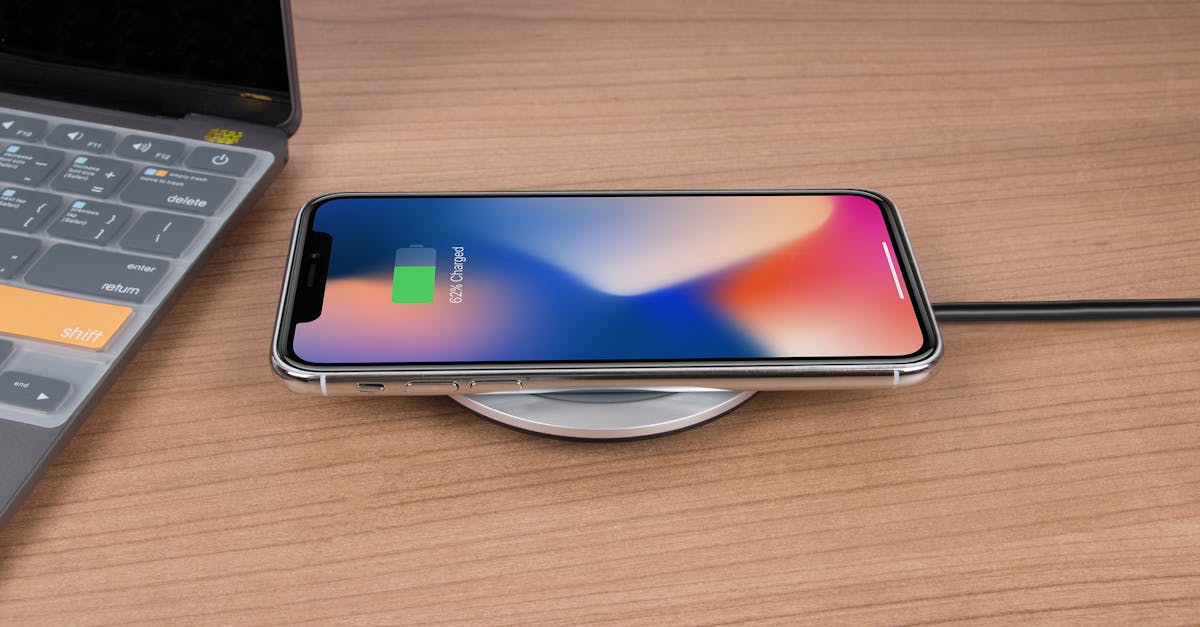
Wireless charging failures are one of the most misdiagnosed jobs that walk into a repair shop. Customers often assume the phone is broken, when the real culprit is a misaligned case, a weak adapter, or a dirty coil. This guide gives your technicians a repeatable workflow to isolate the fault fast, quote honestly, and avoid unnecessary board-level work.
Process overview
Why wireless charging fails so often
Qi charging depends on a chain of parts working together: the charging pad, the power adapter, the phone's rear coil, the coil-to-board connector, the charging IC, and the battery itself. A break anywhere in that chain produces the same customer complaint — "it won't charge on my pad." Your job is to find which link failed before you open the device.
Step 1: Reproduce the complaint before intake
Never accept the phone with only the customer's word. Ask them to bring their pad and adapter if possible, then test on your own known-good Qi charger.
- Place the phone flat and centered on the pad with no case.
- Confirm the pad's LED or the phone's charging indicator reacts.
- Try a second pad and a different USB power adapter (a weak 5W brick is a common cause of slow or failed Qi charging).
- Note whether the phone charges by cable. If cable charging also fails, this is a port or battery issue, not a wireless problem.
If the phone charges fine on your bench pad, you have a customer-education job, not a repair. Show them the difference and document it on the ticket.
Step 2: Rule out accessories and alignment
Before quoting any repair, eliminate the cheap causes:
- Thick, metal, or magnetic cases that block the coil.
- Pop sockets, wallet attachments, and metal plates.
- Pads that only work with the phone in one exact spot.
- Cheap aftermarket pads with poor coil alignment.
This step protects your reputation. Charging a diagnostic fee for a case problem erodes trust fast.
Step 3: Inspect the rear glass and coil assembly
Once accessories are ruled out, inspect the back of the device. On many modern phones the wireless charging coil is bonded to the rear glass or sits under a graphite shield. Look for:
- Cracks or impact marks near the coil area.
- Swelling that lifts the back panel (stop and treat as a battery safety issue).
- Debris, adhesive residue, or a previous repair with a missing shield.
If the phone has had prior back glass work, a pinched or unplugged coil connector is a strong suspect.
Step 4: Test the coil and connector
With the device open and following your shop's ESD and battery-disconnect procedure:
- Disconnect the battery.
- Inspect the coil flex and its connector for tears, corrosion, or bent pins.
- Reseat the connector and reassemble enough to test on the pad.
- If charging returns, the fault was a loose connector — document it.
- If it still fails, swap in a known-good coil if your parts stock allows, and retest.
A coil that tests good but still won't charge points toward the charging IC or board-level fault.
Step 5: Decide repair vs. board-level
Be honest with the customer about the tiers:
- Coil or connector replacement — common, affordable, fast.
- Rear glass with integrated coil — often the practical fix on newer models.
- Board-level charging IC — requires microsoldering skill; quote accordingly and set expectations on turnaround.
If board-level work is outside your shop's scope, say so and refer out rather than guessing.
Step 6: Test, document, and hand off
Before pickup, verify wireless charging on at least two pads, confirm cable charging still works, and check that the phone doesn't overheat on the pad. Record the pad and adapter you tested with on the ticket so a future visit has a baseline.
Shop workflow tips
- Keep one labeled known-good Qi pad and adapter at the bench — never test with a customer's questionable gear alone.
- Add a "wireless charging tested" checkbox to your intake form so techs don't skip it.
- Bundle a case-alignment check into every wireless complaint to cut down on no-fault returns.
- Track which models fail most often at the coil connector so you stock the right parts.
A disciplined workflow turns a vague "it won't charge" ticket into a clear diagnosis, a fair quote, and a customer who trusts your shop enough to come back.
Photo: Rann Vijay / Pexels
Get repair-shop growth tips in your inbox
Practical guides on pricing, workflow and getting paid. No spam — unsubscribe anytime.