How to Handle a Phone That Won't Turn On: Step-by-Step No-Power Diagnosis and Repair Workflow for Shops
10/31/2026· 3 min read

A phone that won't power on is one of the most common walk-ins a repair shop sees — and one of the easiest to misdiagnose. This workflow gives your technicians a repeatable path from intake to final test so you fix the real fault instead of guessing.
Process overview
Why "won't turn on" is a diagnosis, not a repair
Customers usually arrive saying "it's dead." That single symptom can mean a drained battery, a failed charging port, a stuck power button, a corrupted firmware, a shorted board, or liquid damage. Treating it as "replace the battery" leads to comebacks and refunds. Your job at intake is to narrow the fault before quoting.
Step 1: Intake and customer interview
Ask questions that point to the likely cause:
- Did it die suddenly, or was the battery draining for days first?
- Was it dropped, wet, or charged with a suspect cable?
- Did it show a boot loop or logo before going black?
- Is there any sign of life — vibration, sound, LED, or a warm spot when charging?
Log the answers on the ticket. They are your first diagnostic data and protect you if the customer later disputes the outcome.
Step 2: External checks before opening the device
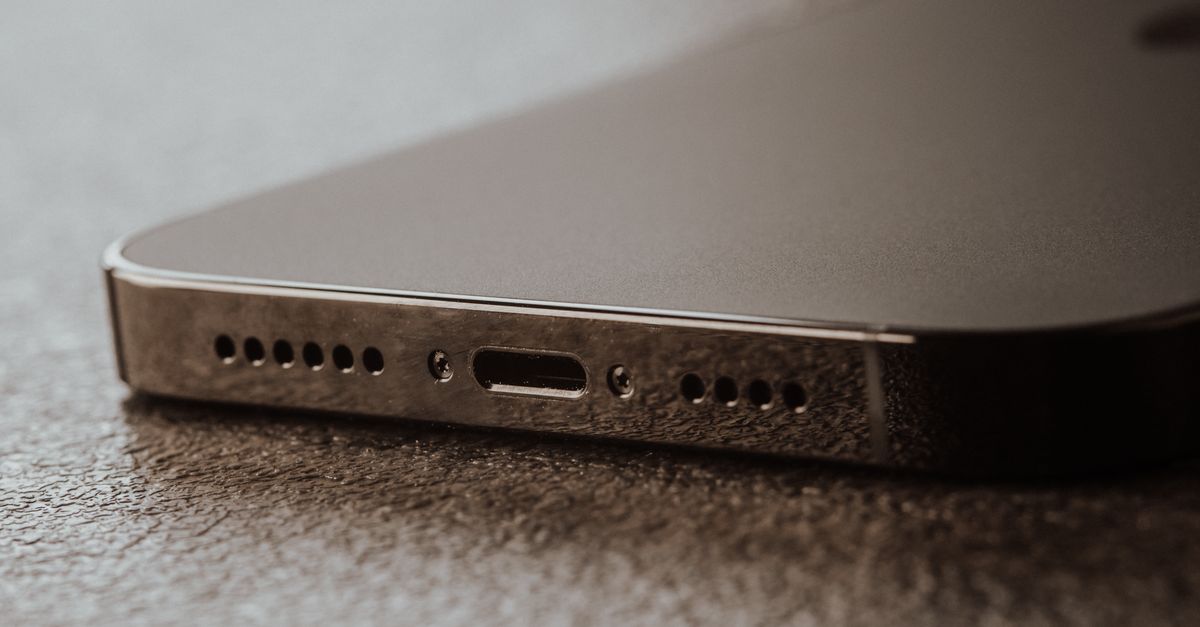
- Inspect the charging port for lint, bent pins, or corrosion.
- Try a known-good cable and charger, then a wireless charger if supported.
- Watch for current draw on a USB power meter — a flat-zero reading suggests an open circuit, while a high draw can indicate a short.
- Check the power and volume buttons for physical binding or debris.
Many "dead" phones are simply not receiving charge. Confirm power delivery before you quote a board-level repair.
Step 3: Force restart and recovery mode
Every platform has a forced-restart combination that bypasses a frozen state. Try it before disassembly, and note whether the device responds. If it boots into recovery or shows a logo, the fault is likely firmware or storage rather than power delivery — a very different quote.
Step 4: Open and inspect
With the device open and safely discharged:
- Check battery voltage and connector seating.
- Look for liquid indicators, corrosion, or burn marks.
- Inspect the charging port flex and its solder joints.
- Test with a known-good battery where the model allows.
Document what you find with photos on the ticket. This is where honest quoting begins.
Step 5: Quote with clear options
Give the customer a tiered quote: the most likely fix, the next step if that doesn't resolve it, and the point at which board-level work or data recovery becomes the path. Set expectations on data loss up front, especially for storage or board faults.
Step 6: Repair, reassemble, and test
After the repair, test the full chain: power on, charge to confirm current draw, check buttons, verify the display, and confirm the device holds a charge. Run a final functional checklist before pickup and record the result on the ticket.
Step 7: Close the loop
Update the ticket status, send the customer a completion notice, and note the actual fault found. Over time these notes become your shop's knowledge base and make future no-power jobs faster and more profitable.
A consistent workflow turns a vague "it's dead" into a confident diagnosis — and confident diagnoses are what keep customers coming back.
Photo: Tima Miroshnichenko / Pexels
Get repair-shop growth tips in your inbox
Practical guides on pricing, workflow and getting paid. No spam — unsubscribe anytime.