How to Handle a Phone That Won't Charge: Step-by-Step Charging Port Diagnosis and Repair Workflow for Shops
11/3/2026· 4 min read
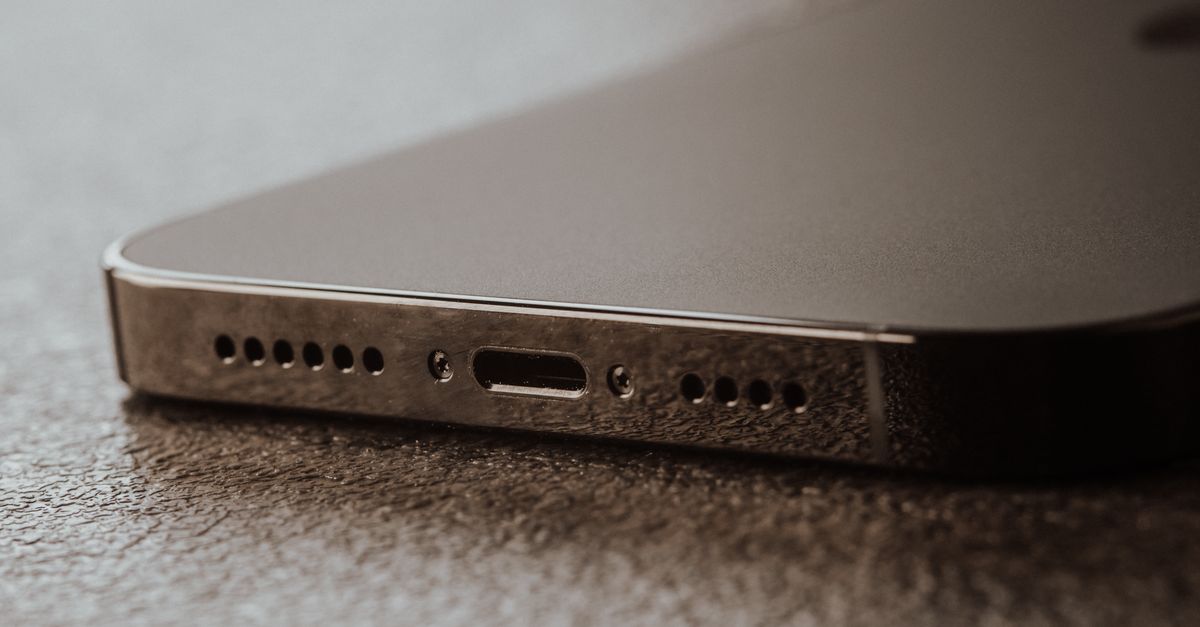
A phone that won't charge is one of the most common tickets a repair shop sees, and one of the easiest to misdiagnose. This guide walks through a repeatable intake-to-pickup workflow so your technicians find the real cause instead of replacing parts by guesswork.
Process overview
Why charging faults get misdiagnosed
Most shops jump straight to the port. In practice, a no-charge complaint can come from the cable, the wall adapter, lint packed into the port, a worn port, a failing battery, a damaged charge flex, or a board-level issue on the charging IC. Replacing the port when the battery is the problem wastes a part, wastes labor, and often brings the customer back angry.
A structured workflow fixes this. Every phone gets the same sequence, every technician gets the same result, and the customer gets an honest quote instead of a guess.
Step 1: Intake and customer interview
Before the phone goes on the bench, capture the details that narrow the diagnosis:
- Does it charge with a different cable and adapter at home?
- Does it charge wirelessly, or only with a cable?
- Does the charging icon appear but the percentage never rises?
- Does the phone get hot while plugged in?
- Has it been exposed to liquid, dust, or a drop?
Log the answers on the ticket. This is also the moment to record cosmetic condition and take photos, so there is no dispute later about a scratch that was already there.
Step 2: Verify the complaint with known-good accessories
Never trust the customer's cable as your test cable. Use a known-good cable and adapter, and test with a USB power meter if you have one. Confirm the actual current draw rather than relying on the on-screen bolt icon. A phone can show a charging symbol while drawing almost nothing.
If the phone charges normally on your bench, the fault is in the customer's accessories or outlet. Say so plainly, sell them a quality cable, and close the ticket without opening the device.
Step 3: Inspect and clean the port
With the phone powered off, use magnification and a non-conductive pick to check for lint, pocket debris, or bent pins. Compressed air alone often pushes lint deeper. Clean carefully, then retest. A meaningful share of no-charge tickets end right here, and cleaning is a fast, honest, low-cost fix that builds trust.
Step 4: Isolate the fault
If cleaning does not solve it, work through the chain in order:
- Test wireless charging if the model supports it. If wireless works and wired does not, the fault is almost certainly the port or charge flex.
- Check battery health and cycle count through the device diagnostics or your shop software.
- Inspect the charge flex and port for corrosion, cracked solder, or liquid damage indicators.
- If the port and battery test good but current draw is still wrong, escalate to board-level diagnosis of the charging IC and related components.
Step 5: Quote before you repair
Once you know the cause, send a clear quote that names the part, the labor, and the expected turnaround. Get approval in writing before the technician touches a screwdriver. If you find a second issue mid-repair, stop and send a revised quote rather than surprising the customer at pickup.
Step 6: Repair, test, and document
After the repair, test charging from a low battery state, confirm current draw is normal, check that the phone does not overheat, and verify data transfer over the cable if the port was replaced. Photograph the finished work and note the parts used on the ticket.
Step 7: Pickup and follow-up
Explain what failed and why, hand over the old part if the customer wants it, and state your warranty terms clearly. A short follow-up message a few days later catches the rare comeback before it becomes a bad review.
Build the workflow into your shop software
Running this sequence from memory works until you have three technicians and a busy Saturday. RagoxCell lets you build the intake checklist, quote approval, parts tracking, and pickup steps into one ticket flow, so every charging repair follows the same path and nothing gets skipped.
Photo: Masood Aslami / Pexels
Get repair-shop growth tips in your inbox
Practical guides on pricing, workflow and getting paid. No spam — unsubscribe anytime.
