How to Handle a Phone with a Broken Charging Port: Diagnosis and Repair Guide for Shops
9/10/2026· 4 min read
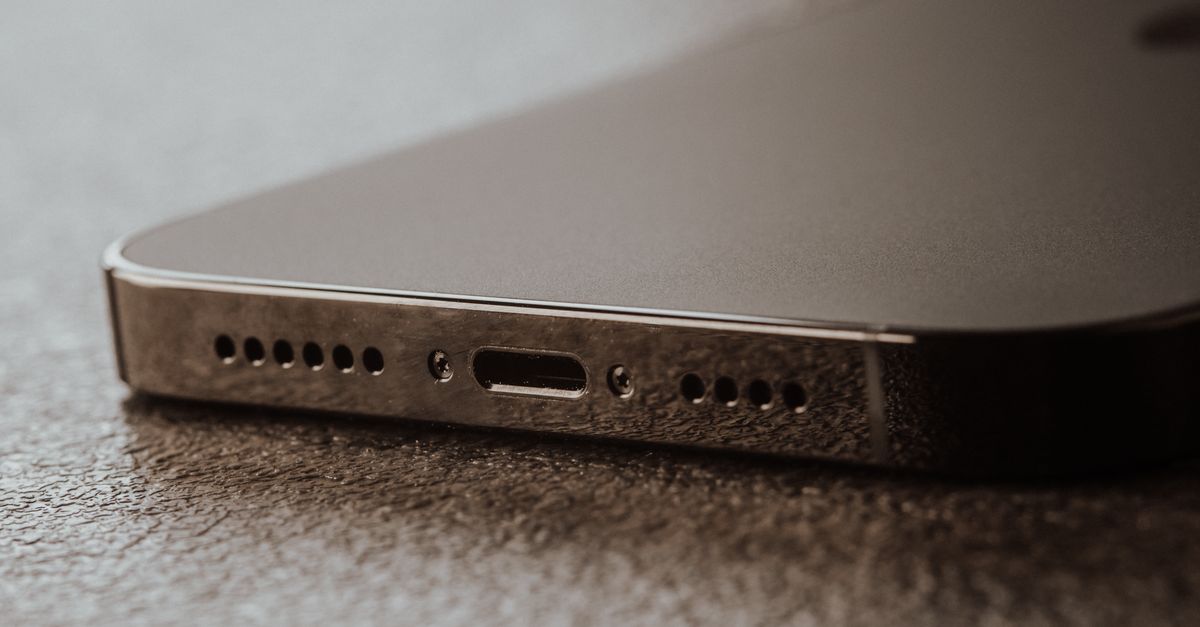
A broken charging port is one of the most common walk-in repairs a shop sees, and it is also one of the easiest to misdiagnose. This guide walks through a repeatable intake-to-pickup process so your technicians fix the right problem the first time.
Process overview
Why Charging Port Repairs Are Worth Standardizing
Charging complaints arrive in many forms: "it only charges at an angle," "it charges slowly," "it stopped charging after I used a gas station cable." The symptom is almost never the whole story. The port, the cable, the battery, the charging IC, and even software can all produce the same complaint.
When every technician follows the same steps, you get three wins: fewer comebacks, faster turnaround, and quotes you can stand behind.
Step 1: Intake and Customer Interview
Before the phone goes on the bench, capture the details that narrow the diagnosis:
- Does it charge with a different cable and a different wall adapter?
- Does it charge wirelessly (on models that support it)?
- Did anything happen before it stopped — drop, liquid, bent cable, third-party charger?
- Does the phone recognize a computer when plugged in?
Log the answers on the ticket. If the customer says wireless charging works fine, you already have a strong hint the port itself is the fault.
Step 2: Visual and Physical Inspection
Use magnification and a bright light. Look for:
- Pocket lint, dust, or debris packed into the connector
- Bent, discolored, or missing pins
- Corrosion or green residue from liquid exposure
- A loose or cracked port housing
- Case or screen protector blocking full cable insertion
Compressed air and a non-metallic pick clear a surprising number of "dead port" tickets. Document what you found before and after cleaning.
Step 3: Test With Known-Good Equipment
Never diagnose with the customer's cable. Use a known-good cable and adapter, then test:
- Charge current with a USB power meter
- Data connection to a computer
- Wireless charging as a control
- Battery health and cycle count
If the phone draws normal current with a known-good cable, the issue may be the customer's accessories — a cheap fix you can explain clearly and charge fairly for.
Step 4: Separate Port Faults From Board Faults
If cleaning and known-good accessories do not restore charging, the fault is usually one of these:
- Worn or damaged charging port flex or connector
- Tristar, Tigris, or charging IC failure on the logic board
- Corrosion on the board from liquid ingress
- Battery or battery connector damage
Port replacement is a straightforward board-level-adjacent repair on most models. Charging IC faults require microsoldering and a different quote. Be honest with the customer about which category they are in — guessing wastes everyone's time.
Step 5: Quote, Approve, Repair
Give the customer a clear quote with two outcomes: the port replacement price, and the higher board-level price if the port does not solve it. Get approval in writing before work begins, and note that liquid-damaged devices carry additional risk.
During repair:
- Power the device down and disconnect the battery first
- Use proper heat and pry tools to avoid flex damage
- Inspect the port area for corrosion and clean it
- Test charge, data, and fast charging before reassembly
- Confirm the cable seats fully and does not wobble
Step 6: Test and Handoff
Run a final checklist: charge to a measurable percentage, verify data sync, test wireless charging if applicable, and check that the screen, cameras, and speakers still work. Photograph the finished repair and attach it to the ticket.
Explain to the customer what caused the failure and how to avoid it — avoid yanking cables, avoid bargain-bin chargers, and keep the port free of lint.
Build the Process Into Your Shop System
A charging port repair is only profitable when intake, quotes, parts, and follow-up are tracked in one place. RagoxCell keeps the ticket, the customer history, the quote approval, and the pickup notification connected, so your team spends time repairing instead of chasing paperwork.
Photo: Masood Aslami / Pexels
Get repair-shop growth tips in your inbox
Practical guides on pricing, workflow and getting paid. No spam — unsubscribe anytime.

