How to Handle a Phone with a Broken Charging Port: Step-by-Step Diagnosis and Repair Workflow for Shops
10/16/2026· 4 min read
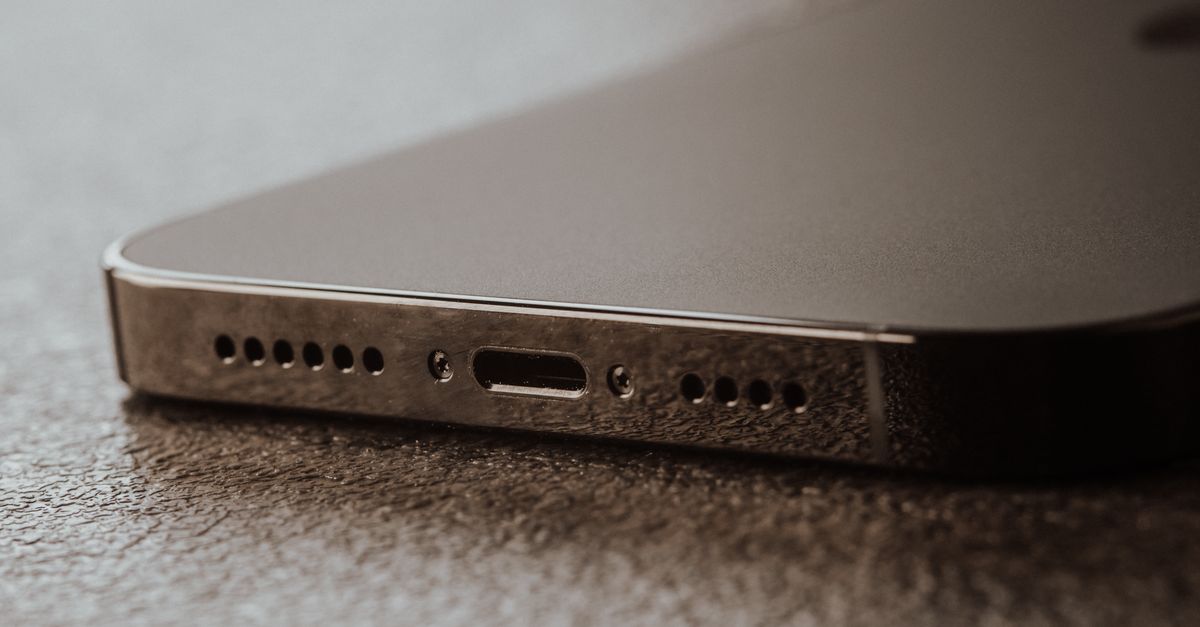
Charging port failures are one of the most common repairs a shop sees, and they are also one of the easiest to misdiagnose — leading to unnecessary board work, comebacks, and refunds. This guide walks through a repeatable intake-to-pickup workflow that keeps your techs consistent and your customers informed.
Process overview
Why Charging Port Jobs Go Wrong
Most bad outcomes come from skipping steps, not from a lack of skill:
- Replacing the port when the real fault is the battery, the cable, or software
- Failing to test with the customer's own cable and charger
- Not documenting the port's condition before disassembly
- Quoting a port swap, then discovering corrosion on the board mid-repair
- Reassembling without verifying charge current under load
A written workflow removes the guesswork and gives you evidence if a customer disputes the diagnosis.
Step 1: Intake and Customer Interview
Before the device goes to the bench, capture the story:
- Does it charge with any cable, or only some?
- Does the cable need to be held at an angle?
- Did the phone get wet, dropped, or repaired elsewhere recently?
- Is the port visibly loose, bent, or packed with lint?
- Does the phone charge wirelessly (if supported)?
Wireless charging working while wired charging fails is a strong signal the fault is in the port, cable, or charge path rather than the battery or power management IC. Write the answers on the ticket — this is the baseline you will test against later.
Step 2: Rule Out the Cheap Causes First
Do these before opening anything:
- Test with a known-good cable and charger, then with the customer's own accessories.
- Inspect the port under magnification and bright light for lint, bent pins, or corrosion.
- Clean the port with a non-conductive tool and isopropyl alcohol if debris is present, then retest.
- Force a restart and check for software-related charging flags or accessory warnings.
- Try a different power source and outlet.
A meaningful share of "broken port" tickets are resolved at this stage. Document what you tried either way.
Step 3: Measure, Don't Guess
Once the basics are cleared, get numbers:
- Check charge current with a USB power meter or your bench supply
- Compare current draw with the screen off versus the screen on
- Wiggle the cable gently and watch for current dropouts — intermittent contact points to the port or its flex
- Inspect the port flex and connector under a microscope for cracked solder joints or lifted pads
- Check for liquid damage indicators and corrosion around the charge IC
Intermittent current that changes with cable angle almost always means the port assembly or its flex, not the battery.
Step 4: Quote With Clear Options
Give the customer a decision, not a mystery:
- Port cleaning only — lowest cost, no parts, no warranty on the port itself
- Port assembly or flex replacement — the standard fix for worn or damaged ports
- Board-level repair — when pads, traces, or the charge IC are damaged; explain the higher risk and longer turnaround
- Data-first priority — if the customer mainly needs photos and messages, discuss backing up before any board work
State the warranty terms on the quote and have the customer approve it in writing or through your ticketing system before you start.
Step 5: Repair and Verify
After the repair, do not hand the device back on a visual check alone:
- Confirm the port seats the cable firmly with no play
- Verify charge current at the same points you measured during diagnosis
- Test data transfer over the cable, not just charging
- Check fast-charge negotiation if the device supports it
- Reassemble, then repeat the charge test with the case on
Record the before-and-after current readings on the ticket. That single habit kills most "it still doesn't charge" comebacks.
Step 6: Set Expectations at Pickup
Tell the customer what to watch for: cable quality matters, lint returns, and a worn cable can damage a new port. Recommend a quality cable, show them how to clean the port safely, and note the warranty window. A two-minute conversation here prevents most repeat visits.
Build the Workflow Into Your Shop System
A charging port diagnosis is only as consistent as the process behind it. RagoxCell lets you attach a standard intake checklist, photo evidence, diagnostic readings, and quote approvals to every ticket, so any technician follows the same steps and every customer sees the same professional experience. If you want the same repeatability across screen, battery, and board repairs, start by writing your shop's standard operating procedures and enforcing them in the ticket itself.
Photo: Masood Aslami / Pexels
Get repair-shop growth tips in your inbox
Practical guides on pricing, workflow and getting paid. No spam — unsubscribe anytime.
