How to Handle a Phone with a Dead Microphone: Diagnosis and Repair Tips for Your Shop
7/22/2026· 4 min read

A phone with a dead microphone is a common but frustrating issue for customers. This guide will walk you through the systematic diagnosis and repair process, helping you fix the problem efficiently and build trust with your clients.
Process overview
Common Causes of Microphone Failure
Microphone issues can stem from hardware damage, software glitches, or debris. The most frequent causes include:
- Clogged microphone port: Dust, lint, or pocket debris blocking the tiny hole.
- Software or app settings: A recent update or app permission change may have muted the mic.
- Water or liquid damage: Corrosion on the microphone contacts or internal short.
- Physical damage: A drop or impact that dislodged or cracked the microphone component.
- Faulty charging port or audio IC: On some models, the charging port assembly includes the microphone, or the audio IC may fail.
Step-by-Step Diagnosis
1. Check the Obvious: Debris and Case Interference
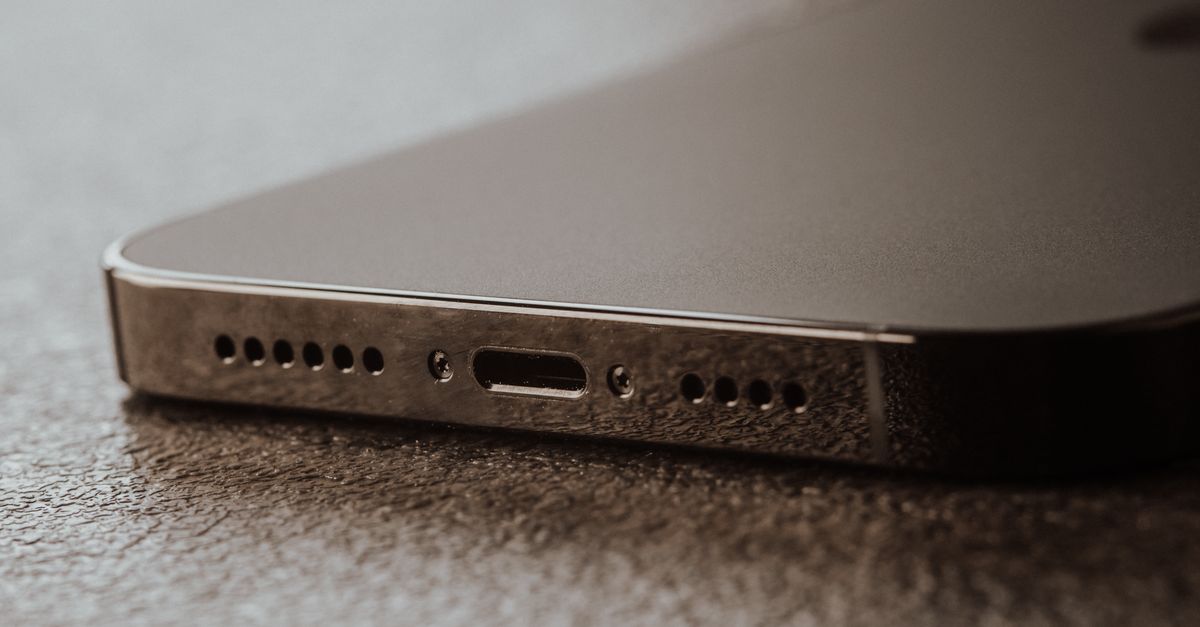
- Inspect the microphone port (usually at the bottom near the charging port) with a bright light. If you see debris, gently clean it with a soft brush or compressed air.
- Remove any phone case or screen protector that might cover the microphone.
- Test the microphone with the case off.
2. Run a Quick Software Test
- Open the Voice Memos app and record a short clip. Play it back to check audio quality.
- If the recording is silent or distorted, note the issue.
- Try a phone call with a friend. If the caller can't hear you, the problem is likely the microphone.
- Restart the phone to rule out temporary software glitches.
3. Isolate the Affected Microphone
Modern phones often have multiple microphones (bottom, top, rear). Test each:
- Bottom mic: Used for calls and voice memos.
- Top mic: Used for noise cancellation and video recording.
- Rear mic: Used for video recording with the rear camera.
Use different apps: Voice Memos (bottom mic), video recording with rear camera (rear mic), and a call with speakerphone on (top mic). If only one mic fails, the issue is likely hardware-specific.
4. Check for Liquid Damage Indicators
- Look for red or pink Liquid Contact Indicators (LCIs) inside the SIM card tray or charging port. If triggered, corrosion may be the culprit.
- Use a magnifying glass to inspect the microphone port for residue or rust.
5. Test with Safe Mode
- Boot the phone into Safe Mode (method varies by model). If the microphone works in Safe Mode, a third-party app is interfering.
- Uninstall recently downloaded apps one by one until the issue resolves.
6. Hardware Diagnostics
- If software tests pass, the problem is likely hardware. Use a multimeter to check continuity on the microphone flex cable.
- Inspect the microphone component for cracks or loose connections.
- On some models, the microphone is part of the charging port assembly. Replacing the charging port may fix the issue.
Repair Solutions
For Debris or Blockage
- Clean the port with isopropyl alcohol and a soft brush. Avoid using sharp objects that could damage the mesh.
For Software Issues
- Update the phone's OS to the latest version.
- Reset all settings (this won't erase data).
- If Safe Mode fixed it, identify and uninstall the problematic app.
For Hardware Failure
- Microphone replacement: Desolder the old mic and solder a new one. This requires precision and a steady hand.
- Charging port replacement: If the mic is integrated, replace the entire charging port flex.
- Audio IC repair: On some models (e.g., iPhone 7 loop disease), the audio IC chip may need reballing or replacement. This is advanced and may require microsoldering.
For Liquid Damage
- Clean the affected area with isopropyl alcohol and a ultrasonic cleaner if available.
- Replace any corroded components.
- Apply a conformal coating to prevent future corrosion.
Testing After Repair
- Record a voice memo and play it back.
- Make a test call and confirm the caller can hear you clearly.
- Test all microphones using the appropriate apps.
- Run a diagnostic test using your shop's software (like RagoxCell's 150+ tests) to ensure full functionality.
When to Recommend a Replacement
If the microphone is integrated into the main board and the repair cost exceeds the phone's value, advise the customer to consider a replacement. Be transparent about the risks and costs.
Conclusion
A dead microphone can often be fixed with simple cleaning or software tweaks. For hardware issues, a systematic approach saves time and ensures customer satisfaction. By mastering this diagnosis, you'll handle one of the most common phone repairs with confidence.
Photo: Tima Miroshnichenko / Pexels
Get repair-shop growth tips in your inbox
Practical guides on pricing, workflow and getting paid. No spam — unsubscribe anytime.