How to Handle a Phone That Gets Too Hot While Charging: Step-by-Step Diagnosis and Repair Workflow for Shops
10/30/2026· 5 min read
Heat while charging is one of the most common complaints repair shops hear, and it is also one of the easiest to misdiagnose. Some warmth is normal; a phone that becomes uncomfortable to hold, throttles, or shuts down on the charger is telling you something in the power path is wasting energy as heat. This workflow walks your bench through intake, isolation, repair, and testing so you can quote confidently and avoid comebacks.
Process overview
Why charging heat is different from general overheating
A phone that runs hot during games or navigation is usually working the processor hard. A phone that heats up specifically while plugged in points at the charging circuit: the cable, the port, the battery, or the power management IC. Treat it as an electrical fault until you prove otherwise, because a failing battery or a shorted charging IC can turn into a safety issue.
Step 1: Intake and customer interview
Before the phone goes on the bench, capture the details that narrow the diagnosis:
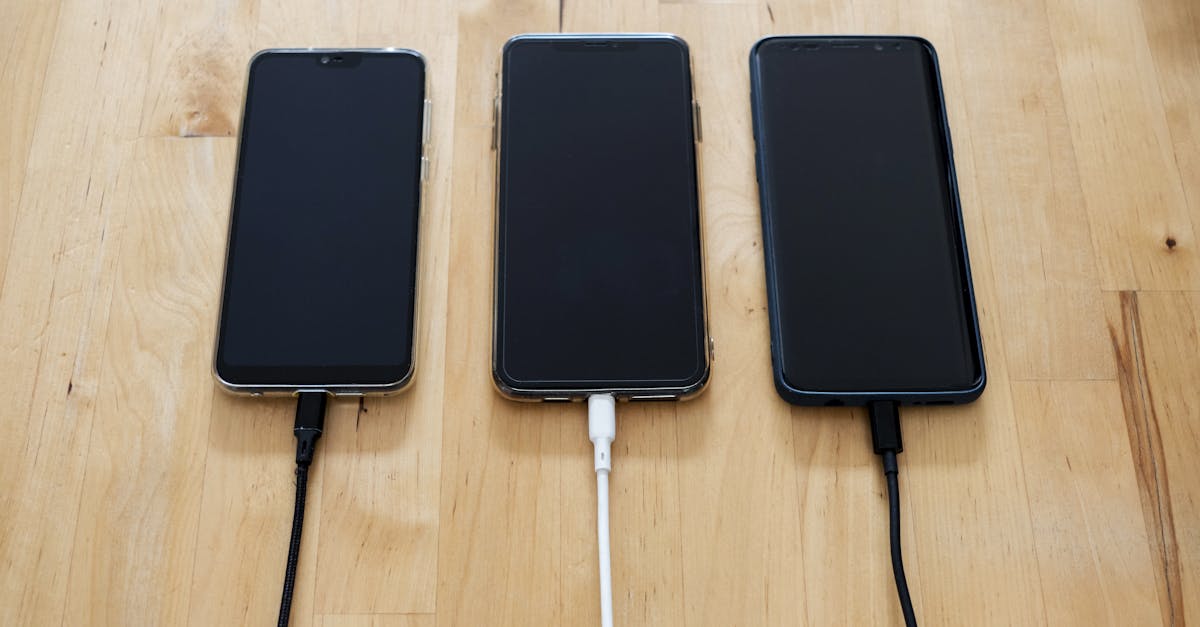
- Does it heat up with every charger, or only one cable and brick?
- Does it get hot at the port, the middle of the back, or near the camera?
- Does it heat while idle on the charger, or only while also in use?
- Has the battery been replaced before, and by whom?
- Any recent drops, liquid exposure, or third-party accessories?
Log the answers on the ticket. If the customer reports swelling, a bulging back cover, or a screen lifting at the edges, stop here and treat it as a battery swelling case with the appropriate safety handling.
Step 2: Isolate the accessory and the environment
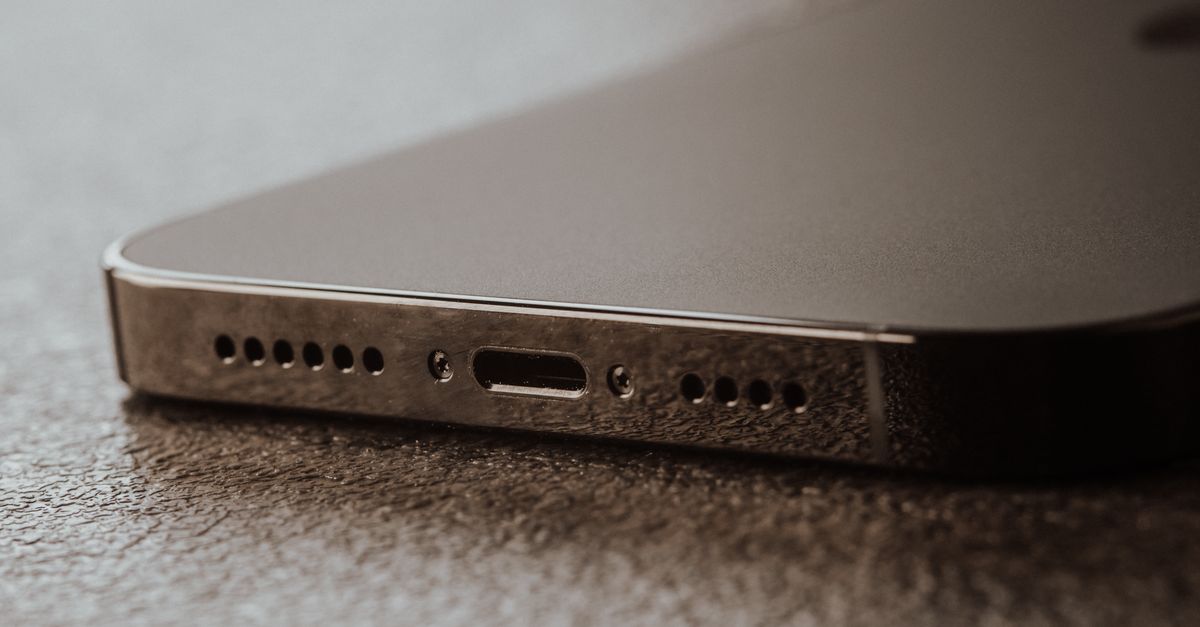
Rule out the cheap causes first. Swap in a known-good cable and power brick, and test on a different outlet. Check the port for lint, bent pins, or corrosion with a loupe and light. A packed lint ball in a USB-C or Lightning port creates resistance, and resistance creates heat at the connector. Clean the port properly, then retest before you quote anything.
Step 3: Measure current draw and temperature
Use a USB power meter to watch current draw during charging. A healthy phone ramps up and settles; a faulty one may pull erratic current, sit at a low trickle, or spike. Pair that with a thermal camera or an infrared thermometer to find where the heat concentrates:
- Heat at the connector: port, cable, or charge flex.
- Heat in the middle of the back: battery or charging IC.
- Heat near the top: board-level power components.
Record the readings on the ticket so the technician who does the repair has context.
Step 4: Battery health and physical inspection
Open the device using proper heat and solvent procedures, then inspect the battery for swelling, punctures, kinked flexes, or a third-party cell of unknown quality. Check battery health data where the platform exposes it, but do not rely on the percentage alone. A cell that charges fast, drains fast, and heats under load is a replacement candidate even if the health figure looks acceptable.
Step 5: Charging port and flex inspection
Look for corrosion, bent pins, cracked solder joints, and liquid indicators. On many modern phones the port sits on a separate flex, which makes replacement straightforward. On others it is soldered to the main board and requires microsoldering. Confirm which before you quote so the customer is not surprised.
Step 6: Board-level checks when the simple fixes fail
If a new battery and a clean port do not solve it, move to the charging IC and power rail. Check for shorts, look for heat signatures on the board with a thermal camera while charging, and inspect for prior repair damage. This is the point to decide whether the job stays in-house or goes to a board-level specialist, and to communicate that to the customer before work continues.
Step 7: Repair, reassembly, and verification
After the repair, reassemble with fresh adhesive and verify:
- Charge from a low percentage and watch current draw and temperature for a sustained period.
- Confirm the phone reports charging normally and does not throttle.
- Test data transfer and fast-charge negotiation if supported.
- Run a short burn-in with the screen on while charging.
Document the final temperature and current readings on the ticket. That record protects you if the customer returns weeks later with a different complaint.
Step 8: Set expectations with the customer
Explain what you found in plain language, what you replaced, and what normal warmth looks like. Recommend a quality charger and cable, and note that cheap accessories are a common cause of repeat visits. If you offer a warranty, state clearly what it covers.
Running this workflow consistently
Every step above is a decision point that should be captured in your shop software: intake answers, measurements, parts used, technician notes, and the final test. When those live on the ticket instead of in a technician's memory, quoting gets faster, comebacks get rarer, and you can see which repairs actually make money. Build the workflow once, then let the system enforce it on every device that comes through the door.
Photo: Stanley Ng / Pexels
Get repair-shop growth tips in your inbox
Practical guides on pricing, workflow and getting paid. No spam — unsubscribe anytime.