How to Handle a Phone with a Broken SIM Tray or SIM Not Detected: Step-by-Step Diagnosis and Repair Workflow for Shops
10/22/2026· 5 min read
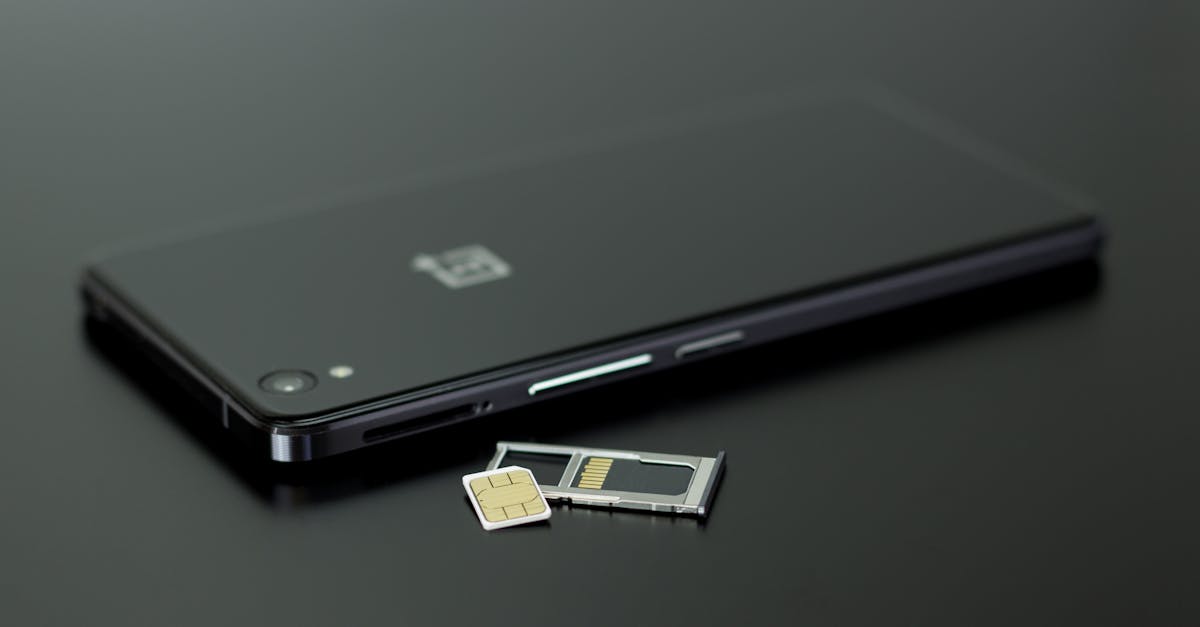
A phone that won't read its SIM card — or whose tray is jammed, bent, or missing — is one of the most common walk-in repairs, and one of the easiest to misdiagnose. This guide walks shop owners and technicians through a repeatable intake, diagnosis, and repair workflow so you fix the right problem the first time and document it properly.
Process overview
Why SIM faults deserve a real workflow
Customers usually arrive saying "my phone says No SIM" or "I can't get service." That single symptom can come from at least five different places: the SIM card itself, the tray, the tray reader contacts, the SIM slot on the logic board, or the carrier/account side. Skipping straight to a board-level repair is how shops lose money on a job that only needed a new tray or a carrier refresh.
A structured workflow also protects you. If you document that the phone arrived with a bent tray and a missing SIM, you have a clear record if the customer later claims the phone worked fine before drop-off.
Step 1: Intake and customer interview
Before you open anything, capture the details that narrow the diagnosis:
- When did it start? After a drop, after a case change, after a carrier switch, or with no obvious trigger.
- Is it intermittent? A SIM that works in one spot and drops in another points to contact or seating issues, not a dead slot.
- Did the customer recently swap SIMs or use an adapter? Cheap nano-to-micro adapters are a leading cause of bent pins.
- Has the phone been repaired before? Prior work on the charging port or board can disturb the SIM reader.
Record the carrier, the SIM form factor, and whether the customer has already contacted the carrier. Log all of this on the ticket so the next technician doesn't repeat the questions.
Step 2: Rule out the SIM card and the account
The cheapest fixes come first. Before touching hardware:
- Try a known-good SIM of the same carrier in the phone.
- Try the customer's SIM in a known-good phone.
- Ask the customer to confirm the line is active and not suspended.
- Check that the phone isn't carrier-locked or reporting an eSIM-only configuration.
If the customer's SIM fails in a good phone, you've found the problem without opening the device. If a good SIM fails in the customer's phone, you've confirmed a device-side fault and can move on.
Step 3: Inspect the tray and the slot
With the device powered off, remove the tray and inspect it under magnification:
- Bent, snapped, or missing tray rails.
- A SIM card seated crooked or sitting on top of an adapter.
- Debris, lint, or corrosion inside the slot.
- Bent or recessed contact pins in the reader.
Photograph the tray and slot before and after any cleaning. A tray that slides in roughly or won't seat flush is a red flag for internal damage — stop pushing and inspect the reader.
Step 4: Clean and reseat before you replace
Many "SIM not detected" jobs are solved with careful cleaning:
- Power down and remove the tray.
- Use a soft brush and isopropyl alcohol to clean the tray and the visible contacts.
- Blow out the slot with low-pressure air — never high pressure, which can drive debris deeper.
- Reseat the SIM flat and square in the tray, then insert it fully.
- Boot and confirm the phone reads the SIM and registers on the network.
If the phone reads the SIM but drops it under movement or heat, suspect a cracked solder joint at the reader rather than a dirty contact.
Step 5: Decide between tray, reader, and board repair
Once you've confirmed a hardware fault, quote the right level of repair:
- Tray only: bent or broken tray, reader intact. Fast, low-cost, high-margin.
- SIM reader replacement: bent pins, corrosion, or a physically damaged reader. Requires microsoldering on most modern phones.
- Board-level trace or pad repair: damaged pads under the reader or liquid corrosion. Quote carefully and set expectations on turnaround.
Be honest with the customer about which tier applies. A tray swap quoted as a board repair erodes trust; a board repair quoted as a tray swap loses you money.
Step 6: Test, document, and close the ticket
Before handoff:
- Confirm the phone registers on the network and can place a call.
- Test data connectivity, not just voice.
- Re-check that the tray sits flush and the phone is water-resistant where applicable.
- Note the parts used, the repair tier, and the test results on the ticket.
A short written summary — "cleaned and reseated SIM, replaced tray, verified network registration" — reduces repeat visits and gives the customer confidence in the work.
Common mistakes to avoid
- Forcing a tray that won't seat and bending the reader pins.
- Skipping the known-good SIM test and opening the phone unnecessarily.
- Forgetting to check carrier lock or eSIM settings on newer devices.
- Not documenting the condition at intake.
Running this workflow consistently — with every step logged on the ticket — turns a fiddly repair into a predictable, profitable job.
Photo: Silvie Lindemann / Pexels
Get repair-shop growth tips in your inbox
Practical guides on pricing, workflow and getting paid. No spam — unsubscribe anytime.