How to Handle a Phone That Won't Charge: Step-by-Step Diagnosis for Repair Shops
7/11/2026· 4 min read
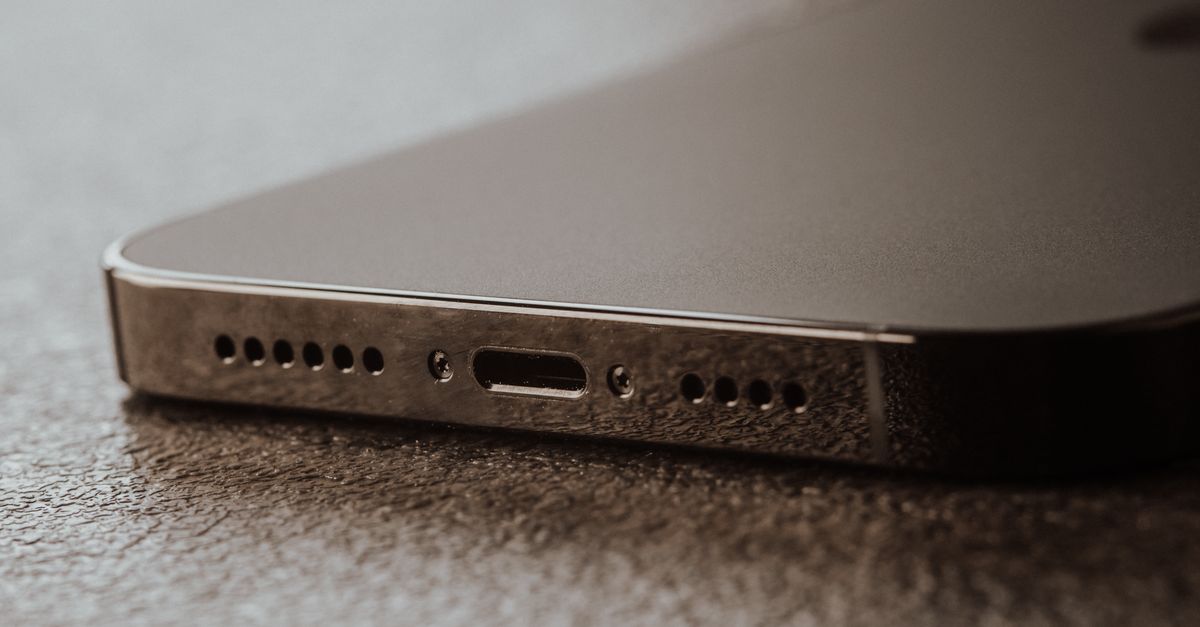
A phone that won't charge is one of the most common tickets a repair shop sees, and one of the easiest to misdiagnose. The customer usually assumes "bad charging port," but the real cause could be the cable, the port, the battery, the charging IC, or even software. This guide walks through a repeatable diagnosis flow you can train any technician on.
Process overview
Start With the Customer Interview
Before touching the device, get the story. Ask:
- When did it stop charging — suddenly or gradually?
- Does it charge with a different cable or charger?
- Does the phone show any charging indicator at all?
- Has the phone been dropped, bent, or exposed to liquid?
- Did anything change recently — new case, new cable, software update?
A gradual decline often points to a worn port or failing battery. A sudden stop after a drop points to board-level damage. Liquid exposure changes your whole approach.
Step 1: Rule Out the Accessories
This sounds obvious, but it eliminates a large share of tickets before you open anything.
- Test with a known-good cable and wall adapter.
- Try wireless charging if the device supports it. If wireless works but wired doesn't, you've narrowed it to the port or its flex.
- Try a different outlet and a different USB port on your bench power supply.
Document what you tested. If the device charges fine on your bench, the customer's accessory is the problem — and that's a quick, honest answer that builds trust.
Step 2: Inspect and Clean the Port
Under magnification, look inside the charging port for:
- Lint, pocket debris, or corrosion
- Bent or missing pins
- A loose or wobbly connector
Compressed air and a non-metallic pick remove most lint. Never scrape with metal. If pins are bent or the port housing is damaged, plan for a port replacement.
Step 3: Check Current Draw on a USB Meter
A USB power meter or bench supply tells you what the phone is actually doing:
- No draw at all — the phone isn't negotiating power. Suspect the port, the charging flex, or the charging IC.
- Very low draw that never ramps — often a battery or charging IC issue.
- Normal draw but no charge percentage — often a battery health or software reporting issue.
This single step separates "port replacement" jobs from "board-level" jobs before you quote.
Step 4: Isolate the Battery
If the port checks out, test with a known-good battery or check battery health data. A battery that has swollen, dropped below a safe voltage, or lost capacity can refuse to accept charge. Handle swollen batteries with proper safety procedures — never puncture or bend them.
Step 5: Board-Level Checks
If accessories, port, and battery are all good, move to the board:
- Inspect the charging IC and surrounding components for corrosion or burn marks.
- Check for a short on the charging rail.
- Look for a bent or damaged logic board from a drop.
Board-level work is where clear quoting matters most. Give the customer a diagnostic fee, an honest range, and a no-fix-no-fee option if that fits your policy.
Quote, Document, and Follow Up
Every charging ticket should end with a written quote that lists:
- What you tested
- What you found
- The recommended repair and price
- The warranty on the part and labor
Log the diagnosis in your repair ticket system so the next technician doesn't repeat the same steps. If the customer declines, note it — many come back once the phone dies completely.
Build This Into Your Shop Workflow
A consistent charging diagnosis flow cuts comebacks, speeds up quotes, and makes training new techs far easier. Write it down as an SOP, attach it to the ticket type, and review it whenever a device comes back. The shops that win on charging repairs aren't the fastest — they're the most consistent.
Photo: Masood Aslami / Pexels
Get repair-shop growth tips in your inbox
Practical guides on pricing, workflow and getting paid. No spam — unsubscribe anytime.
