How to Handle a Phone That Won't Turn On: A Step-by-Step Guide for Repair Shops
7/10/2026· 4 min read

When a customer brings in a phone that won't turn on, it's often a race against time to diagnose the issue and set expectations. This guide walks you through a systematic approach to identify the root cause, communicate clearly with the customer, and perform the repair efficiently.
Process overview
Initial Assessment
Start by gathering information from the customer:
- When did the problem start? Sudden or gradual.
- Any recent drops, water exposure, or software updates?
- Does the phone show any signs of life (vibrations, sounds, or LED flashes)?
This quick conversation often narrows down the possibilities before you even open the device.
Check the Basics
Before diving into disassembly, rule out simple issues:
- Battery charge: Plug the phone into a known-good charger and cable. Wait a few minutes—sometimes the battery is completely drained and needs time to accept a charge.
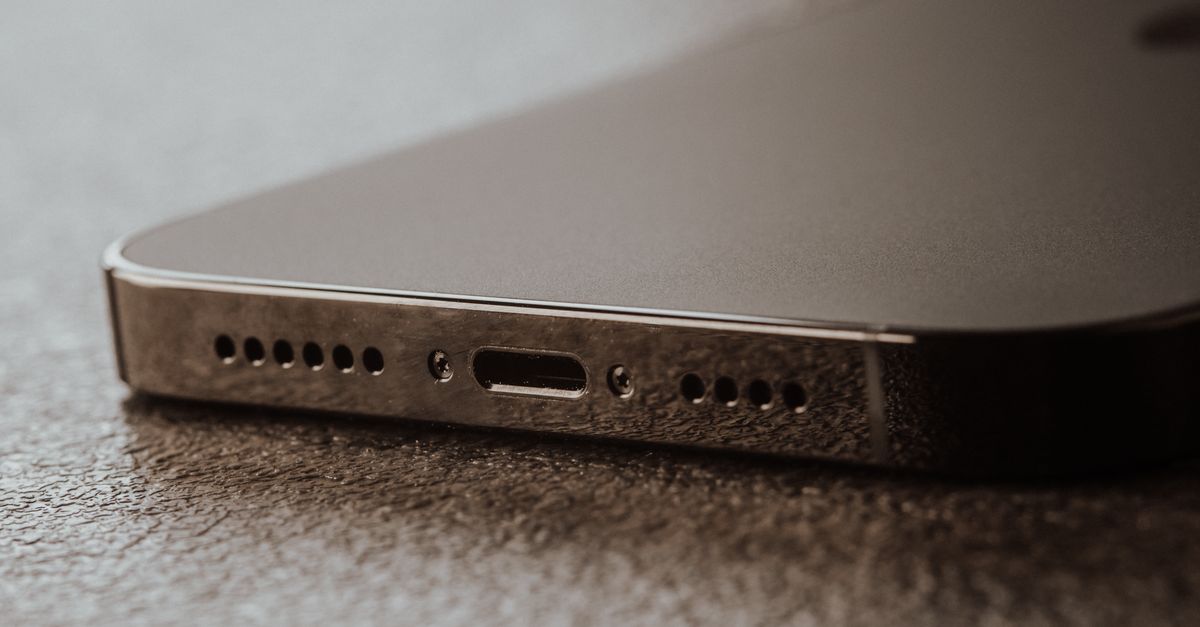
- Charging port: Inspect for debris, lint, or damage. A dirty port can prevent charging and cause the phone to appear dead.
- Power button: Test the button's tactile response. A stuck or broken power button can prevent the phone from turning on.
Force Restart
Many unresponsive phones can be revived with a force restart. The method varies by model:
- iPhone: Press and release Volume Up, then Volume Down, then hold the Side button until the Apple logo appears.
- Samsung: Hold the Power and Volume Down buttons simultaneously for 10-15 seconds.
- Other Android: Check the manufacturer's instructions, but usually holding Power for 10-20 seconds works.
If the phone vibrates or shows the logo, the issue is likely software-related.
Diagnose Hardware Issues
If a force restart doesn't work, the problem is likely hardware. Here's a systematic approach:
- Visual inspection: Open the phone and look for swollen battery, liquid damage indicators, or loose connections.
- Battery health: Test the battery with a multimeter or a battery tester. A dead battery is a common culprit.
- Power delivery: Check the charging port and charging IC for damage. Use a microscope to inspect for corrosion or broken pins.
- Display connection: Sometimes the phone turns on but the display fails. Try connecting the phone to an external screen or use a known-good display assembly.
Use Diagnostic Tools
Leverage diagnostic software to identify issues that aren't visible. Tools like RagoxCell's diagnostic suite can run over 150 tests to check battery health, charging circuitry, and other components. This helps you pinpoint the problem faster and reduces guesswork.
Communicate with the Customer
Clear communication is key to managing expectations:
- Explain the diagnosis in plain language.
- Provide a quote before proceeding with repairs.
- Set a realistic timeline—some repairs take hours, others may take days if parts need ordering.
Common Fixes
Depending on the diagnosis, common repairs include:
- Battery replacement: A swollen or completely dead battery is often the culprit.
- Charging port repair: Replace the port if it's damaged or corroded.
- Power button replacement: If the button is broken, it can prevent the phone from powering on.
- Software restore: If the phone responds to a force restart but won't boot, a firmware restore may be needed.
When to Recommend Replacement
If the phone has extensive liquid damage or the motherboard is fried, repair costs may exceed the phone's value. Be honest with the customer about whether repair is worth it.
Streamline Your Workflow
Using a repair shop management system like RagoxCell can help you track diagnostics, manage repairs, and keep customers informed. With features like automated status updates and digital invoices, you can focus on the repair while RagoxCell handles the paperwork.
Conclusion
A phone that won't turn on doesn't have to be a mystery. By following a systematic diagnostic process, you can quickly identify the issue, set clear expectations, and get the customer back up and running. Remember, a thorough diagnosis is the foundation of a successful repair.
Photo: Tima Miroshnichenko / Pexels
Get repair-shop growth tips in your inbox
Practical guides on pricing, workflow and getting paid. No spam — unsubscribe anytime.