How to Diagnose a Phone That Won't Charge: Step-by-Step Guide
6/24/2026· 2 min read
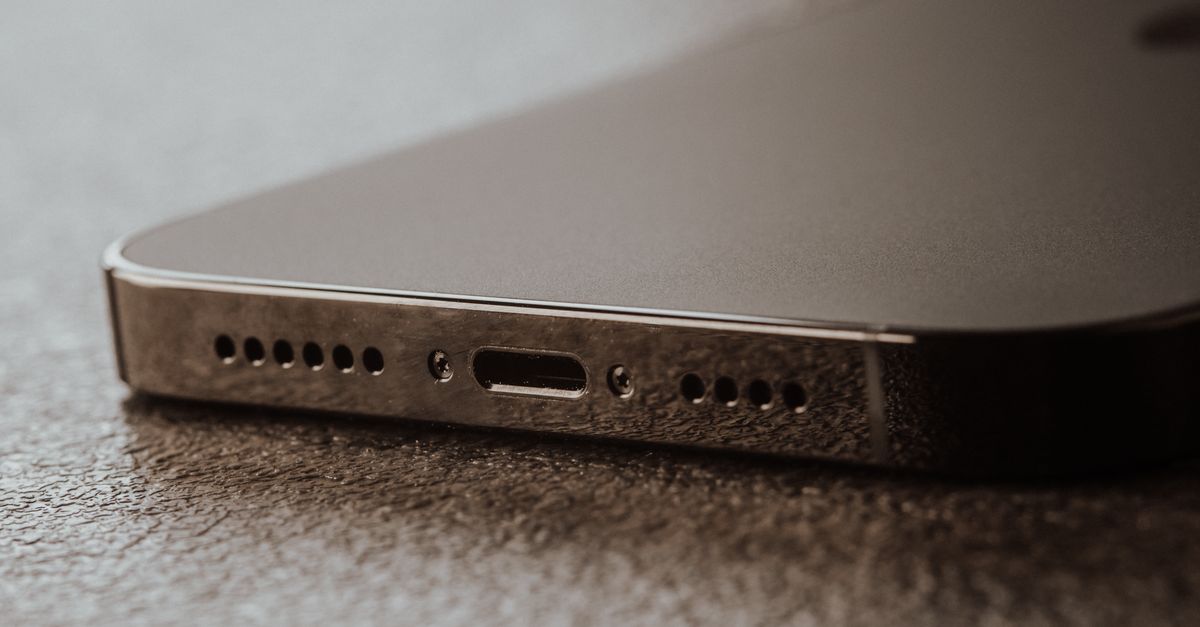
A phone that won't charge is one of the most common issues repair shops see. This guide walks you through a systematic diagnosis to identify the root cause quickly, so you can provide accurate estimates and repairs.
Process overview
Initial Customer Interview
Start by asking the customer a few key questions:
- Did the issue start suddenly or gradually?
- Was there any physical damage or liquid exposure?
- Have they tried different cables, chargers, or wireless charging?
- Does the phone show any signs of life (vibrations, sounds, screen flicker)?
This information helps you narrow down the possible causes before you even open the device.
Visual Inspection
Examine the charging port closely:
- Use a magnifying lamp or microscope to look for debris, lint, or corrosion.
- Check for bent or broken pins inside the port.
- Inspect the cable and charger for damage.
- Look for any swelling or damage to the battery.
Basic Troubleshooting
Before disassembly, try these steps:
- Force restart the phone (different methods for different models).
- Try a known-good charger and cable.
- Attempt wireless charging if supported.
- Connect to a computer to see if it's recognized.
Diagnostic Testing
If basic steps fail, proceed with diagnostics:
- Measure voltage at the charging port with a multimeter.
- Use a USB ammeter to check current draw.
- Check for short circuits on the charging line.
- Inspect the battery connector and flex cables.
Common Causes and Fixes
- Debris in port: Clean gently with a non-conductive tool.
- Faulty charging IC: Requires microsoldering replacement.
- Damaged battery: Replace battery.
- Corroded components: Clean with isopropyl alcohol or replace.
- Software glitch: Update or restore firmware.
When to Recommend Replacement vs. Repair
- If the charging port is damaged beyond repair, recommend port replacement.
- If the battery is swollen, replace immediately for safety.
- For liquid damage, assess corrosion extent; sometimes a deep clean works.
Documenting the Diagnosis
Use your repair shop software (like RagoxCell) to record all findings, photos, and test results. This helps with transparency and future reference.
Conclusion
A systematic approach to diagnosing charging issues saves time and builds customer trust. By following these steps, you can quickly identify the problem and provide a clear estimate.
Photo: Masood Aslami / Pexels
Get repair-shop growth tips in your inbox
Practical guides on pricing, workflow and getting paid. No spam — unsubscribe anytime.
