How to Handle a Phone That Won't Turn On: Step-by-Step Diagnosis
6/24/2026· 4 min read

When a customer brings in a phone that won't power on, it's one of the most common and frustrating issues. This guide walks you through a systematic diagnosis to identify the root cause quickly and accurately, helping you set expectations and get the repair done right.
Process overview
Step 1: Verify the Obvious
Start with the basics before opening the device.
- Check the battery: Connect a known-good charger and look for any sign of life (LED, vibration, or screen flash). Try a different charging cable and adapter.
- Force restart: Each model has a specific key combination. For iPhones: press Volume Up, then Volume Down, then hold the Side button until the Apple logo appears. For Samsung: hold Volume Down + Power for 10-15 seconds.
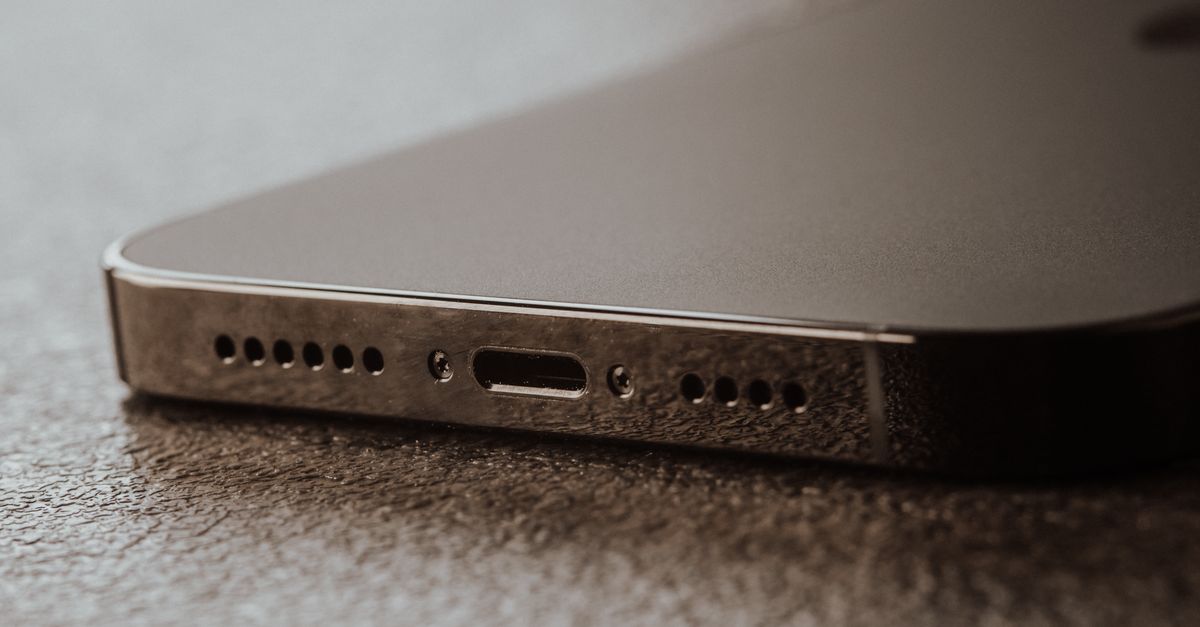
- Inspect the charging port: Use a flashlight and a non-conductive tool to remove lint or debris. A clogged port is a common cause.
Step 2: Measure Battery Voltage
If the phone shows no response, open the device (if safe) and measure battery voltage with a multimeter.
- Expected voltage: A lithium-ion battery should read around 3.7V to 4.2V. Below 3.0V indicates deep discharge; below 2.5V often means the battery is damaged.
- Deep discharge recovery: Apply a low-current charge (0.1A) for a few minutes using a bench power supply. If voltage rises above 3.0V, the battery may recover.
- No voltage: Replace the battery. If the phone still won't power on with a new battery, the issue is likely on the motherboard.
Step 3: Check for Short Circuits
Use a multimeter in continuity mode to check for shorts on the battery connector and power rails.
- Battery connector: Measure resistance between positive and ground. A reading near 0 ohms indicates a short.
- Common short culprits: Damaged capacitors, liquid corrosion, or a crushed component. Use thermal imaging or isopropyl alcohol to locate hot spots.
- Board-level repair: If you find a short, you may need microsoldering skills to replace the faulty component.
Step 4: Inspect for Liquid Damage
Even a small amount of moisture can prevent a phone from turning on.
- Look for corrosion: Use a microscope to examine the board for white or green residue, especially around connectors and ICs.
- Clean the board: Ultrasonic cleaning with a suitable solution can remove corrosion. Dry thoroughly before testing.
- Check water damage indicators: They are often inside the SIM tray or charging port. If triggered, inform the customer.
Step 5: Test the Power Button and Flex Cables
A faulty power button or disconnected flex cable can mimic a dead phone.
- Measure continuity: Press the power button and check for a change in resistance. If no change, the button or cable is defective.
- Reseat flex cables: Disconnect and reconnect the power button flex, display, and battery cables. A loose connection is a simple fix.
- Replace the flex cable: If the button tests bad, order a replacement and install it.
Step 6: Boot the Phone from a Power Supply
If the battery and basic checks pass, try powering the board directly from a bench power supply set to 4.2V with current limit at 2A.
- Observe current draw: A normal boot draws 0.5-1.5A. If current spikes to 2A and stays there, there's a short. If current stays near 0A, the board isn't receiving power.
- Check for boot sequence: Look for signs like the backlight turning on, vibration, or USB connection sounds. This helps isolate the fault to a specific subsystem.
Step 7: Advanced Diagnostics
For stubborn cases, use specialized tools.
- JTAG/ISP programming: Can force the phone into a low-level mode to check for firmware corruption.
- Logic analyzer: Capture power rail sequences to see where the boot process stops.
- Replace known-good parts: Swap the screen, battery, and charging port from a donor phone to rule out those components.
When to Recommend a Board-Level Repair
If you've exhausted the above steps and the phone still won't turn on, the issue is likely a failed IC (power management, CPU, or storage). Board-level repair requires advanced skills and equipment. Be honest with the customer about the cost and success rate.
Final Tips for Your Shop
- Document everything: Use your shop management system to record symptoms, tests performed, and results. This helps with warranty claims and future diagnostics.
- Set expectations: Explain that a phone that won't turn on could be a simple fix or a complex board repair. Provide a diagnostic fee that covers your time.
- Stay updated: New models have different boot sequences and common faults. Follow repair forums and manufacturer guides.
Photo: Tima Miroshnichenko / Pexels
Get repair-shop growth tips in your inbox
Practical guides on pricing, workflow and getting paid. No spam — unsubscribe anytime.